Preparing Your Kitchen for a Respray: A Step-by-Step Guide


Introduction to Kitchen Respraying
Respraying your kitchen can be a cost-effective way to refresh the look of your space without the expense of a full renovation. Whether you're looking to modernize your cabinets or simply change up the color scheme, a respray can breathe new life into your kitchen. To ensure the best results, it's important to properly prepare your kitchen beforehand.

Gather Your Supplies
Before you begin, make sure you have all the necessary supplies on hand. You will need:
- Cleaning supplies (degreaser, cloths, and sponges)
- Sandpaper or a sanding block
- Painter's tape and plastic sheeting
- Primer and paint suitable for your kitchen's material
- Protective gear (gloves and a mask)
Having these items ready will streamline the preparation process and help you avoid unnecessary interruptions.
Clean and Degrease
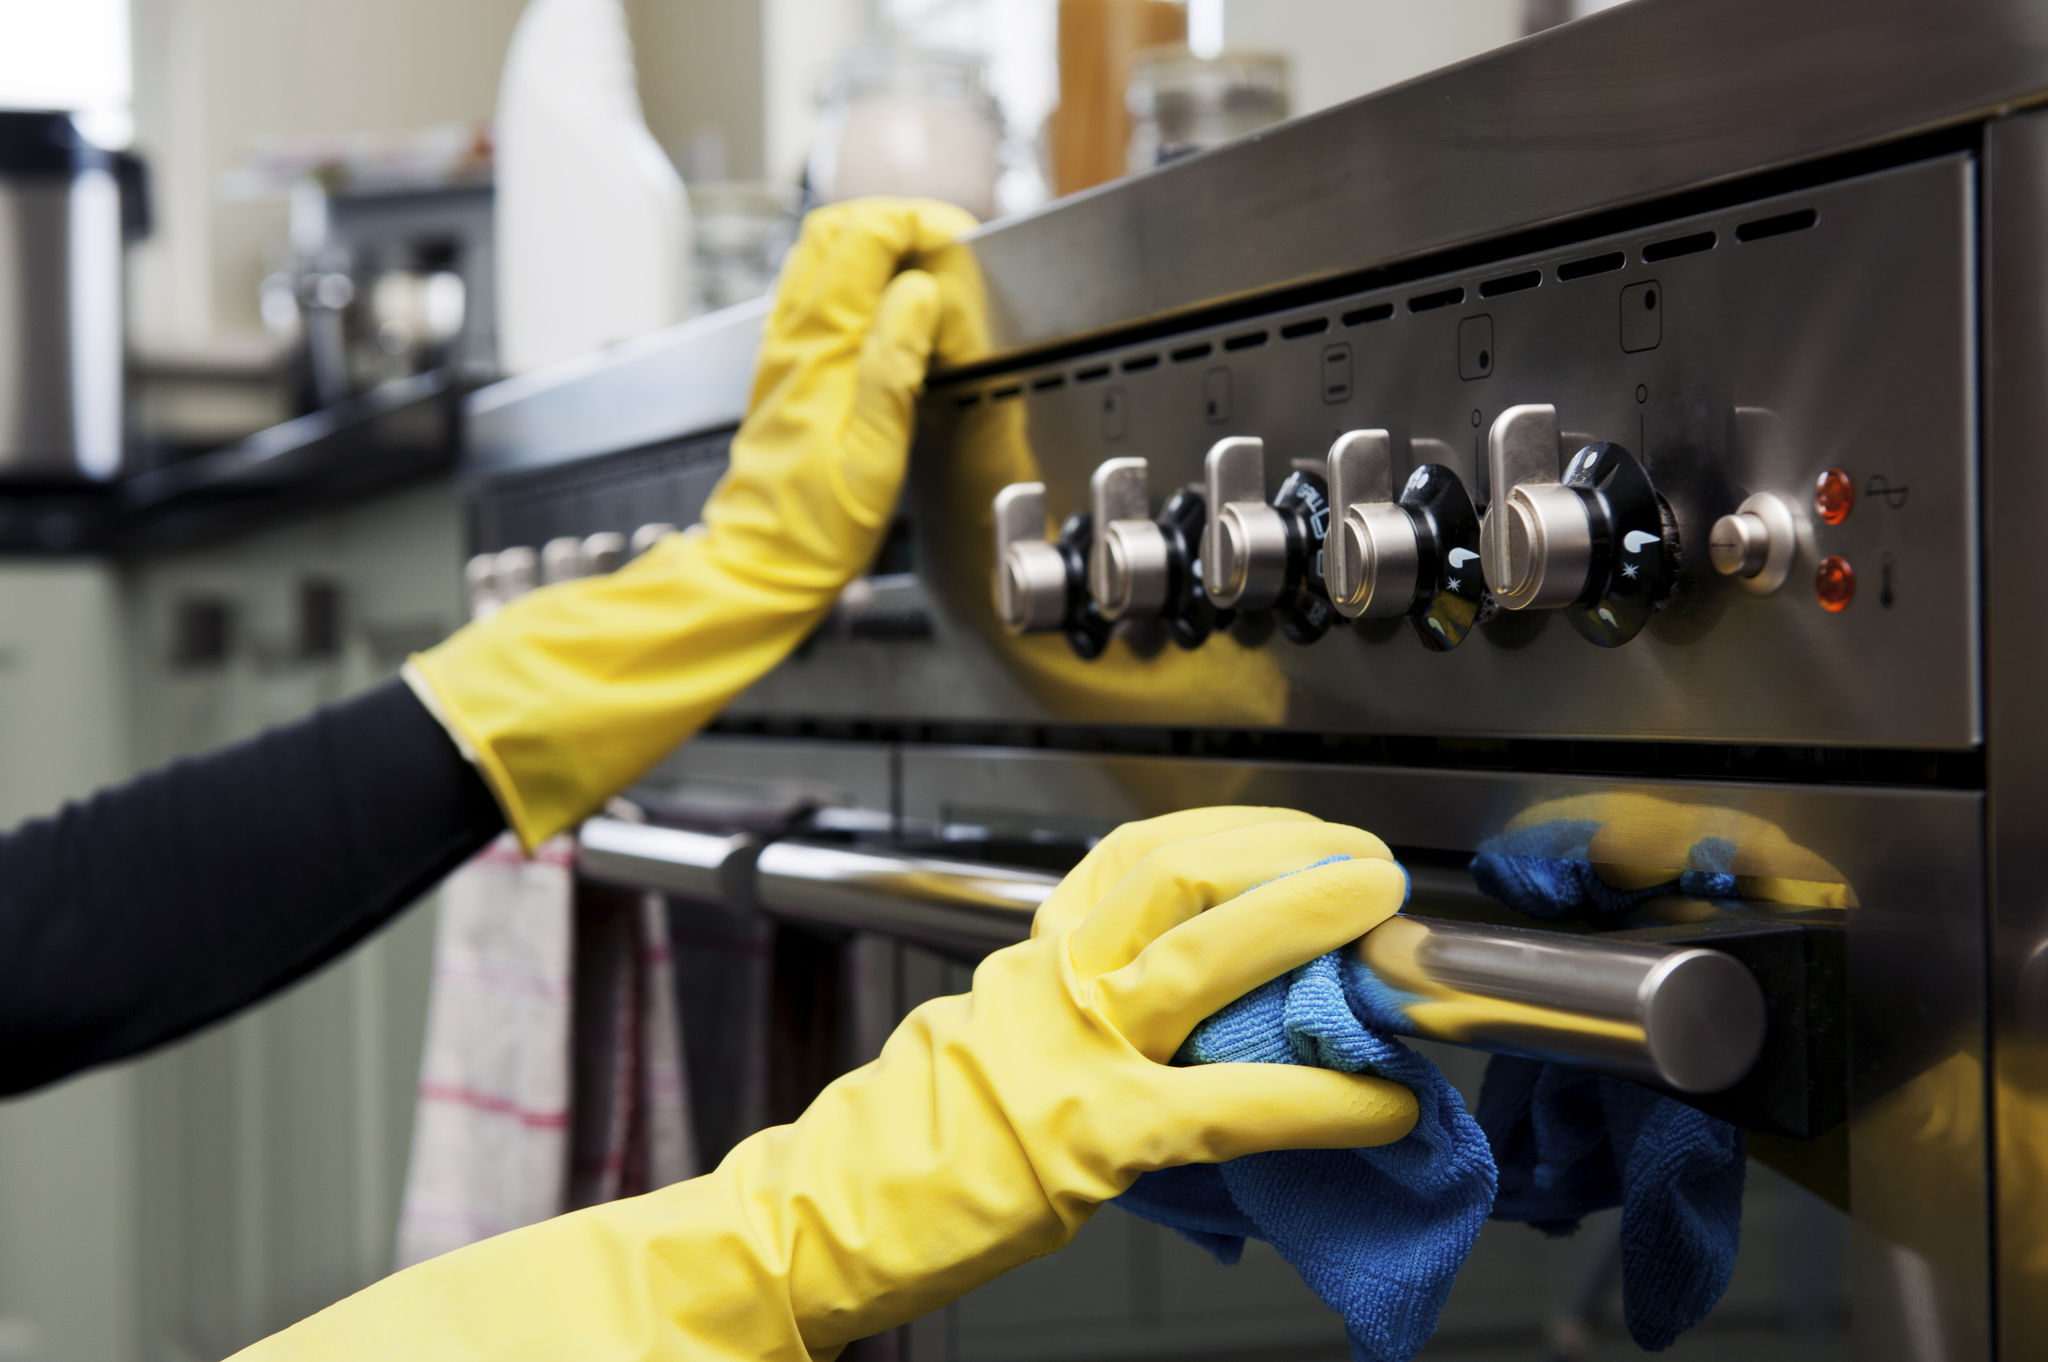
Start by thoroughly cleaning all surfaces that you intend to respray. Kitchens can accumulate grease and grime over time, which can prevent paint from adhering properly. Use a strong degreaser and a sponge to clean cabinets, doors, and drawers. Rinse with water and allow everything to dry completely.
Remove Hardware and Doors
To achieve a professional finish, it's important to remove all cabinet doors, drawers, and hardware like handles and knobs. Label each part as you remove it to ensure you can easily reinstall them later. This step allows you to focus on each component individually, ensuring an even coat of paint.
Sand the Surfaces
Sanding is a crucial step that helps the primer and paint adhere better. Use sandpaper or a sanding block to gently roughen the surfaces of the cabinets and doors. Be sure to remove any gloss or shine from previous finishes. After sanding, wipe down the surfaces with a damp cloth to remove dust.

Protect Surrounding Areas
Use painter's tape and plastic sheeting to protect areas of the kitchen that you don't want painted, such as countertops, walls, and floors. Cover appliances and any fixed fixtures that might be exposed to paint overspray. This will help keep your kitchen clean and free from unwanted paint marks.
Apply Primer
Once your kitchen is prepped, apply a coat of primer to all surfaces that will be painted. Primer helps the paint adhere better and can improve the durability of the finish. Follow the manufacturer's instructions for drying times before moving on to the next step.

Final Touches
After the primer has dried, you can begin applying your chosen paint color. Depending on the type of paint and the desired finish, multiple coats may be necessary. Allow each coat to dry thoroughly before applying the next one.
Once everything is dry, reattach the doors, drawers, and hardware. Enjoy your beautifully refreshed kitchen!